Trellising Tomatoes
Trellising Tomatoes
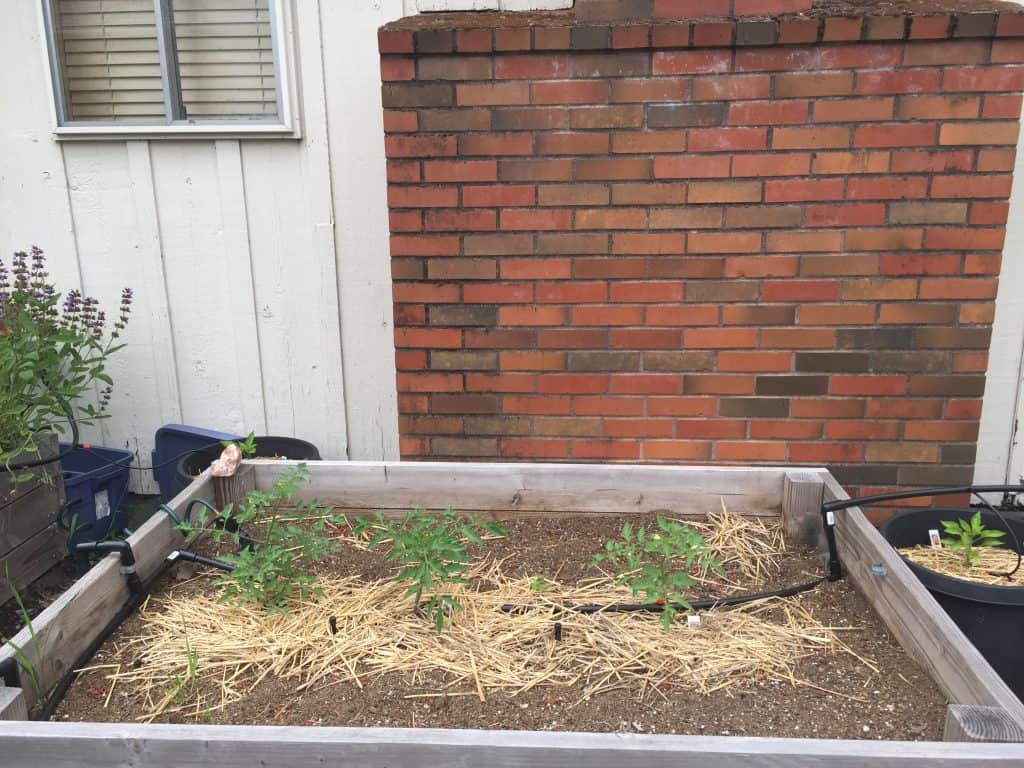
The new, baby tomatoes are settling into their beds for the growing season. They look small and innocent but they will take off quickly. In order to be prepared for their growth and support them along the way, I’m building a new and improved tomato support system.
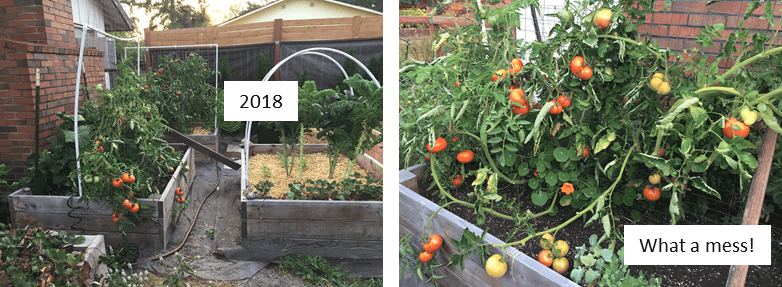
Last year I wrote a post on building tomato trellises. The reason I trellised my plants was to try to get more fruit to ripen early. I hoped to have fewer leaves so more sun would reach the fruit but I didn’t keep up with the work. I didn’t compost as many green tomatoes last year as I did the year before, but I know I can do better.
My trellis design did not work as well as I had hoped. It would have been sufficient if I had done a better job pruning the tomatoes as they grew but I slacked off. My indeterminate tomatoes grew vines in every direction and ended up overgrowing the trellis. We had a strong wind one night and it blew the whole thing over. I had to pull it back up, heavy with vines, and support it with a 2×4 wedged into the neighboring bed.
Another reason the trellis failed was that my footings didn’t go into the ground. I didn’t want to puncture the weed cloth I have under the raised beds so I only pushed the rebar into the depth of the bed, but not the ground. I screwed pipe brackets into the bed to attach the rebar but it wasn’t enough.
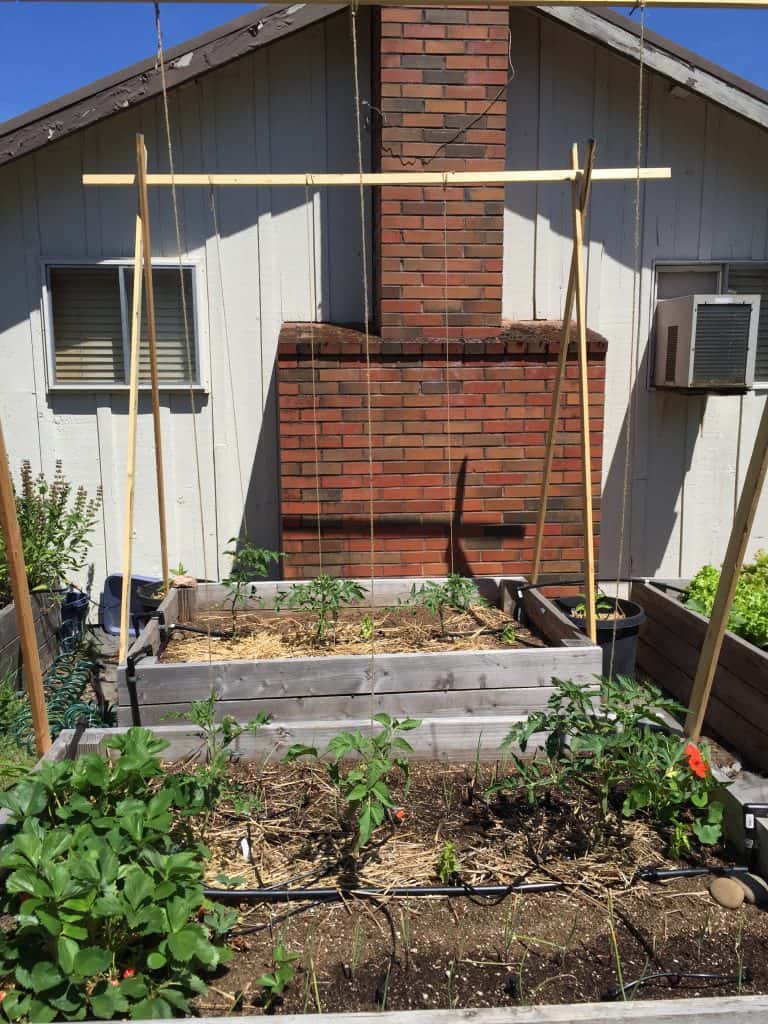
The plants teach me new things every year and I learned a lot from my failed trellis design. This year’s design should correct each of the problems from last year. I opted for a very simple and cost-effective, triangular, wooden structure. These boards are 1” x 3” and cost $1.68 each at Home Depot. Across the top, I have a 1” x 2” which was $1.15 each.
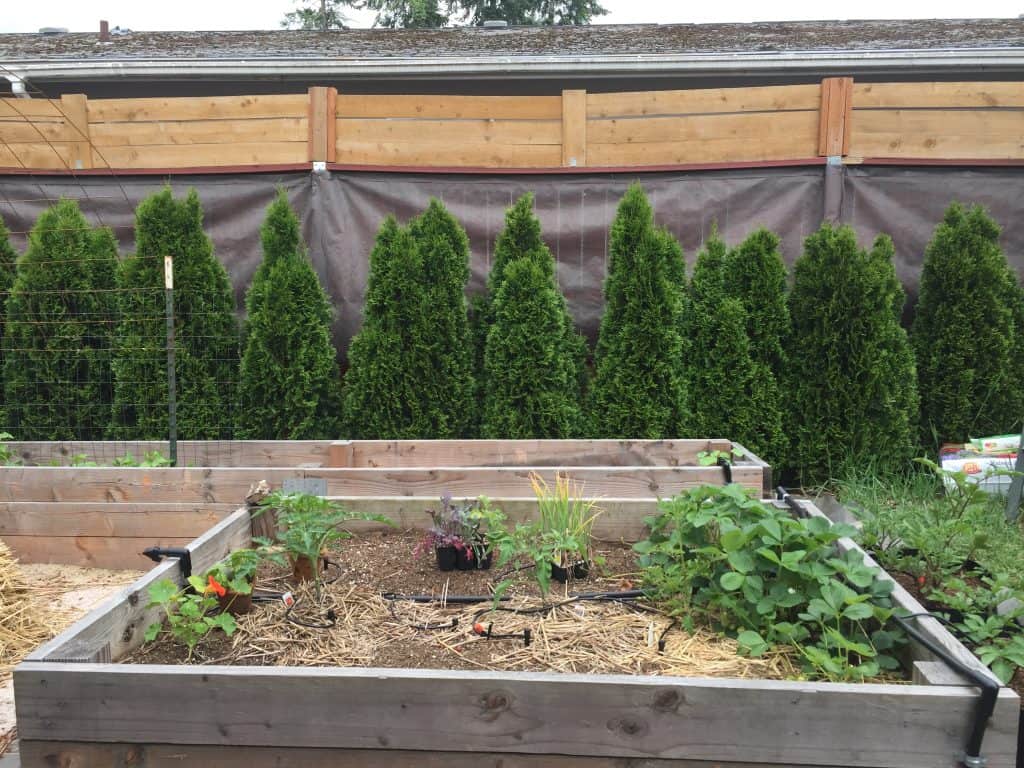
First, I pre-drilled holes into the boards before screwing them into the side of the beds so they wouldn’t split. Then I started with one screw at the bottom of each board so I could move them side to side to find the right angle before screwing them together at the top. Placing a board across the bed allowed me to stand on top of the bed and reach the top of the triangle. It was essential that they came together right in the center of the bed because the top board had to run parallel to the tomatoes down below. Once they were screwed together I set the board on top.
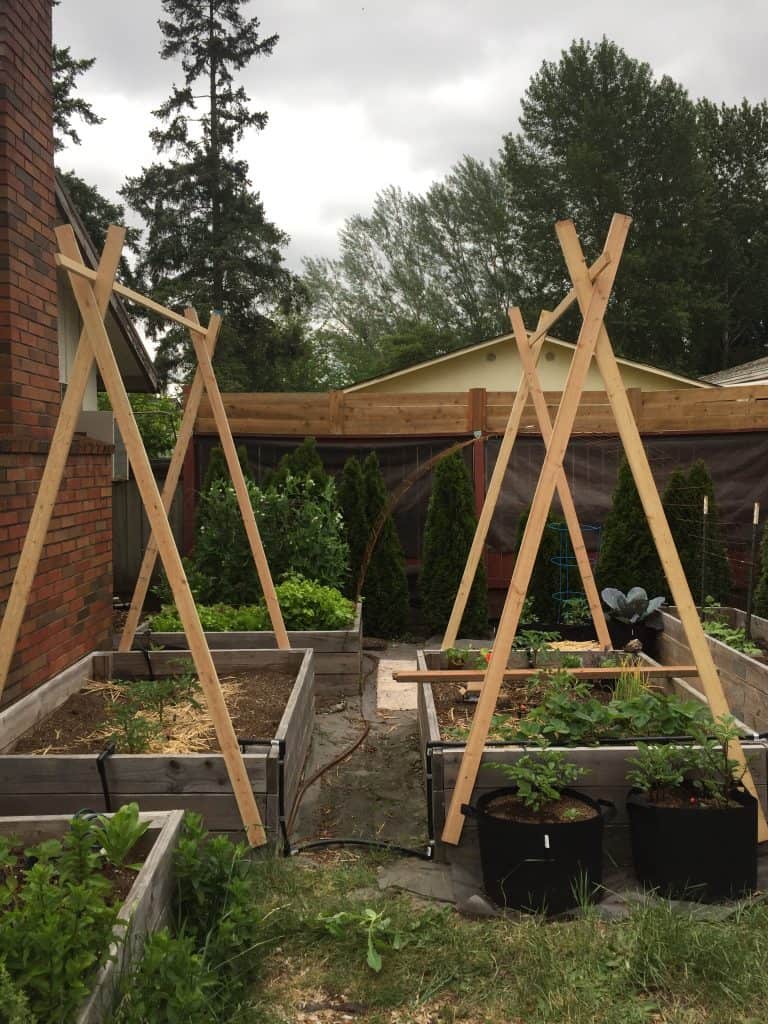
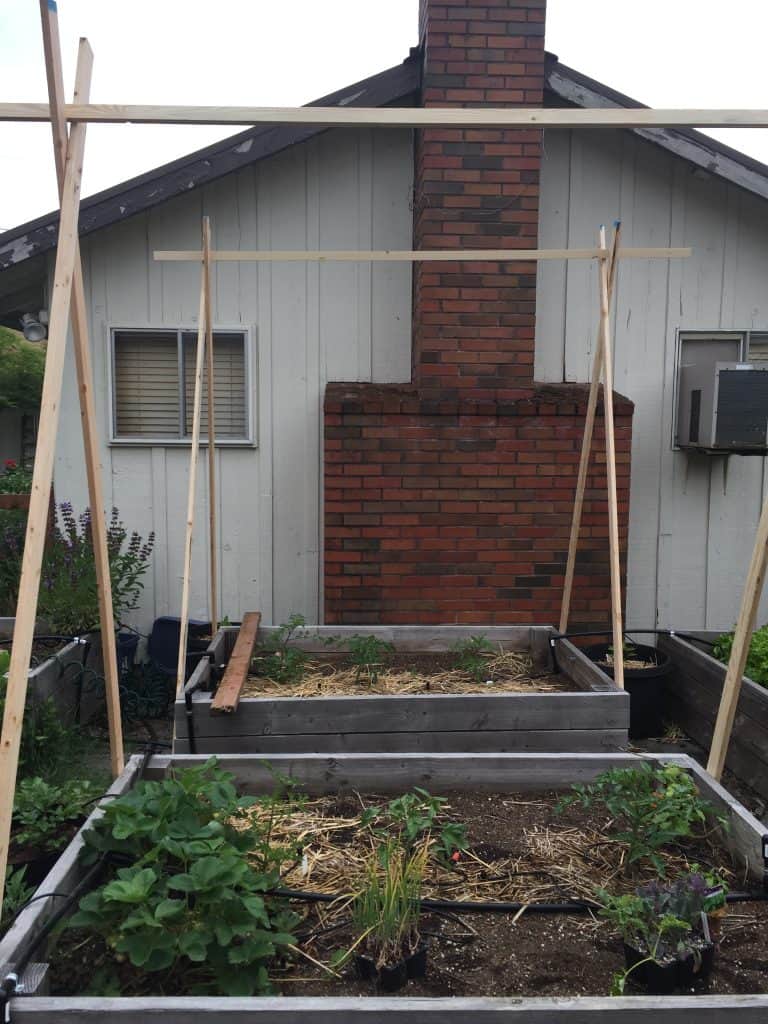
This design allows me to maintain the integrity of my weed cloth because the boards are securely fastened to the outside of the bed. It also doesn’t take up any surface area (planting space) within the bed like some structures I was considering. This triangular shape is pretty sturdy front to back. It does have a little give if I push it side to side but that’s not where the weight will be when it’s full of tomatoes so I think it will be strong enough.
The next problem to solve is the pure mass of tomato greenery that I always seem to tolerate in the garden. I seem to feel very nurturing with my plants when they are babies but as soon as they get established I tend to turn them loose and let them run wild. The tomatoes will take advantage of the freedom and try to take over the garden so I’d like to be a little more disciplined this year.
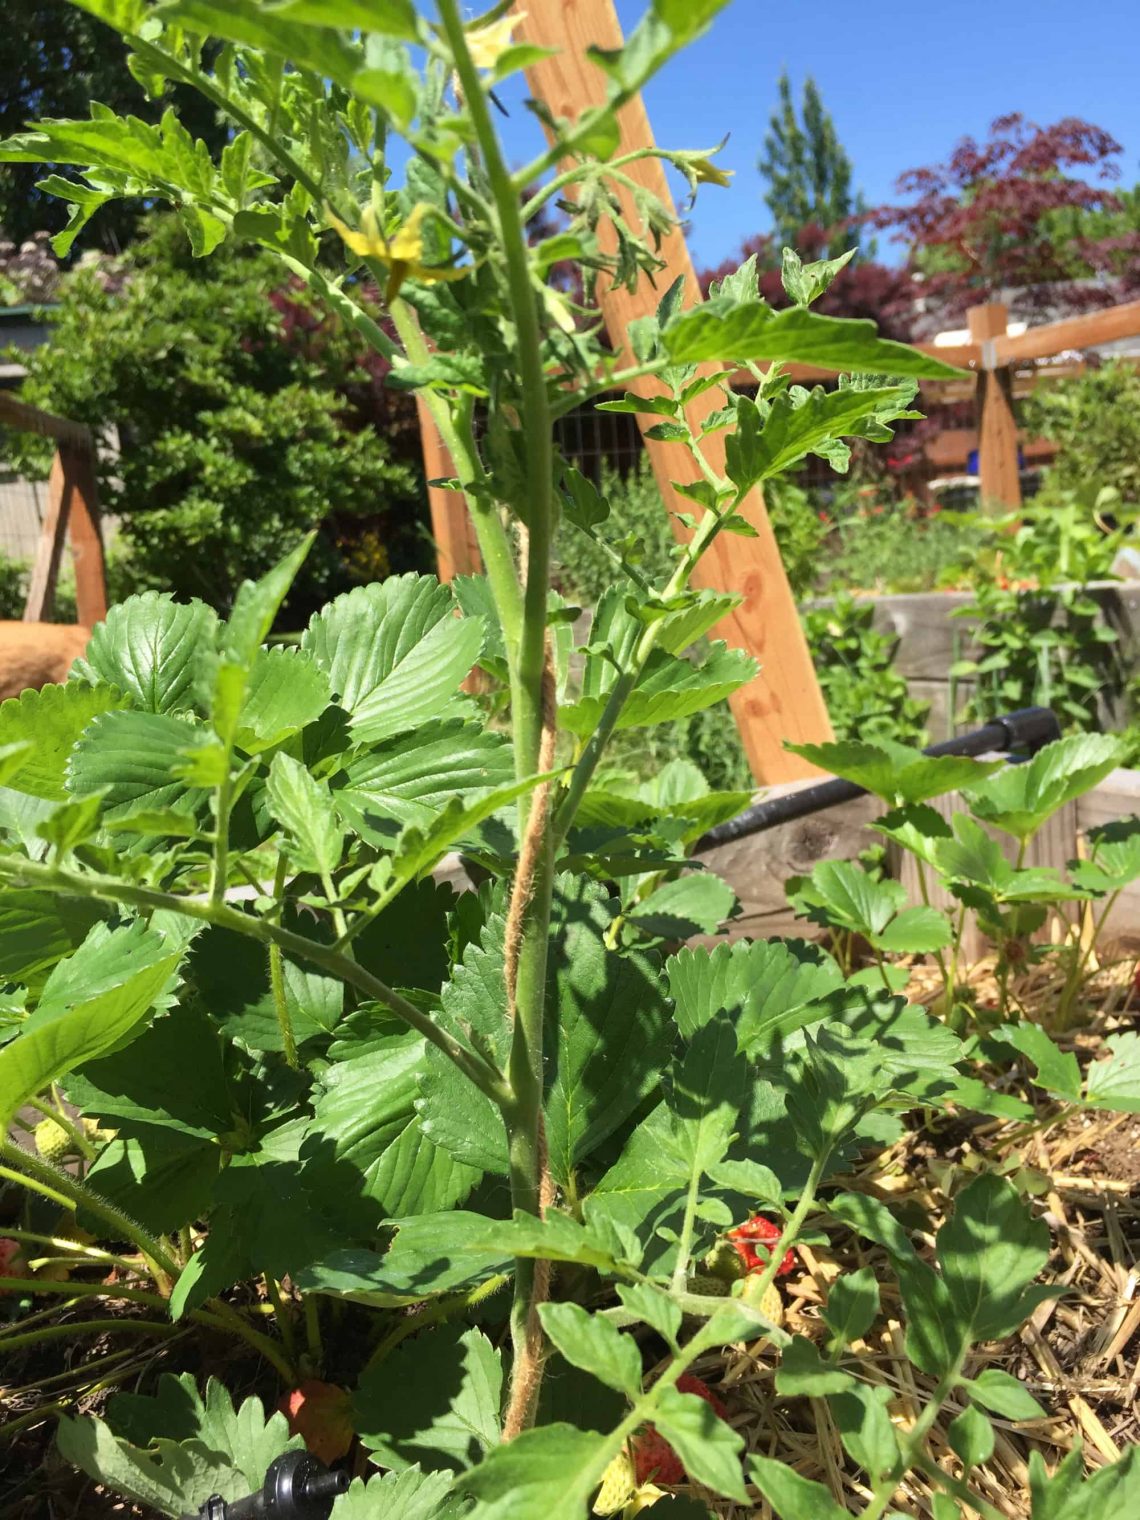
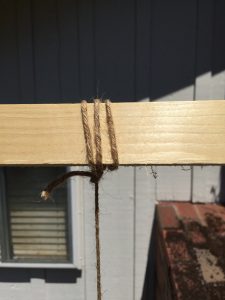
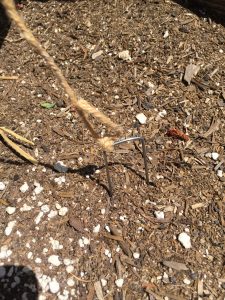
I usually grow indeterminate or cordon tomatoes which do well with pruning into one single main stem. This has to be started early though and maintained all season. I tied a piece of jute twine to the top board above each tomato. After dropping the string straight down to the base of the plant, I tied the other end to a landscape fabric staple. I placed the staple around the base of each plant and then pushed it diagonally into the soil. This created a nice straight line of string right along the plant stem.

I clipped off all of the lower leaves of the plants up to the first blossoms and gently wrapped the string around the single main stem of the plant. I’ll continue to pinch off all of the suckers this season and ensure that the one main stem follows the string up to the top board. It’s easy to wrap the string around the plant or the plant around the string when it’s young and tender. As it gets taller and beefier, I’ll use plant tape to attach the stem to the string so I don’t accidentally break the stem.
By clipping off all of the bottom leaves, up to about 18” or so, I’m keeping the leaves away from the soil. Hopefully this will prevent any bacteria in the soil from splashing onto the plant. I’m also keeping the bed nice and tidy and allowing room for other plants. Single stemming tomatoes this way allows me to plant them closer together so I can get three tomatoes per bed, instead of two. Hopefully it will also allow for earlier ripening at the end of the season when I have bushes of green tomatoes and impending frost.

I’m very happy with this design so far. The birds enjoy the view from their new perch above the garden and it gives the space some height which I like. It’s always hard to imagine these little plants will grow that tall but it happens every year. I find tomatoes very easy to grow and well worth the effort. Have you noticed the price of an organic, heirloom tomato at the farmer’s market lately?


You May Also Like
2019 Veggie Garden Harvest Tallies!

Roasted Beet Salad with Citrus Dressing