
Newest Raised Garden Bed – 2020
Our Newest Raised Garden Bed
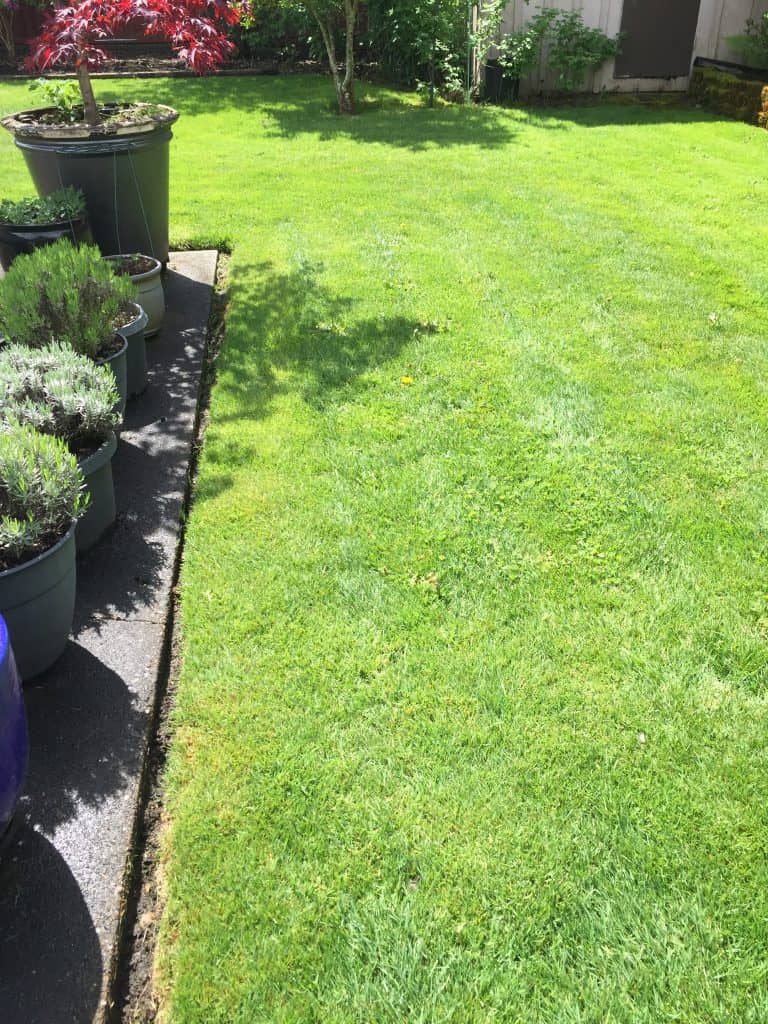
When we bought our house in 2012 I started the garden in the ground. There hadn’t been a garden in this spot before but there were a weed barrier and bark chips so I think it was a play area previously. I raked the bark back and cut through the weed barrier where I wanted planting beds. The garden grew fine the first year but I knew this was our forever home and that my permanent garden would be a series of raised garden beds. Well fast forward 8 years and I can’t fit any more beds in the garden area. So, this year I jumped the fence and expanded the raised bed garden onto the lawn.
If you’re curious about those first beds in the main garden, check out this post about the first few I built or this one of the fifth beds I built.
How we converted lawn to food growing space
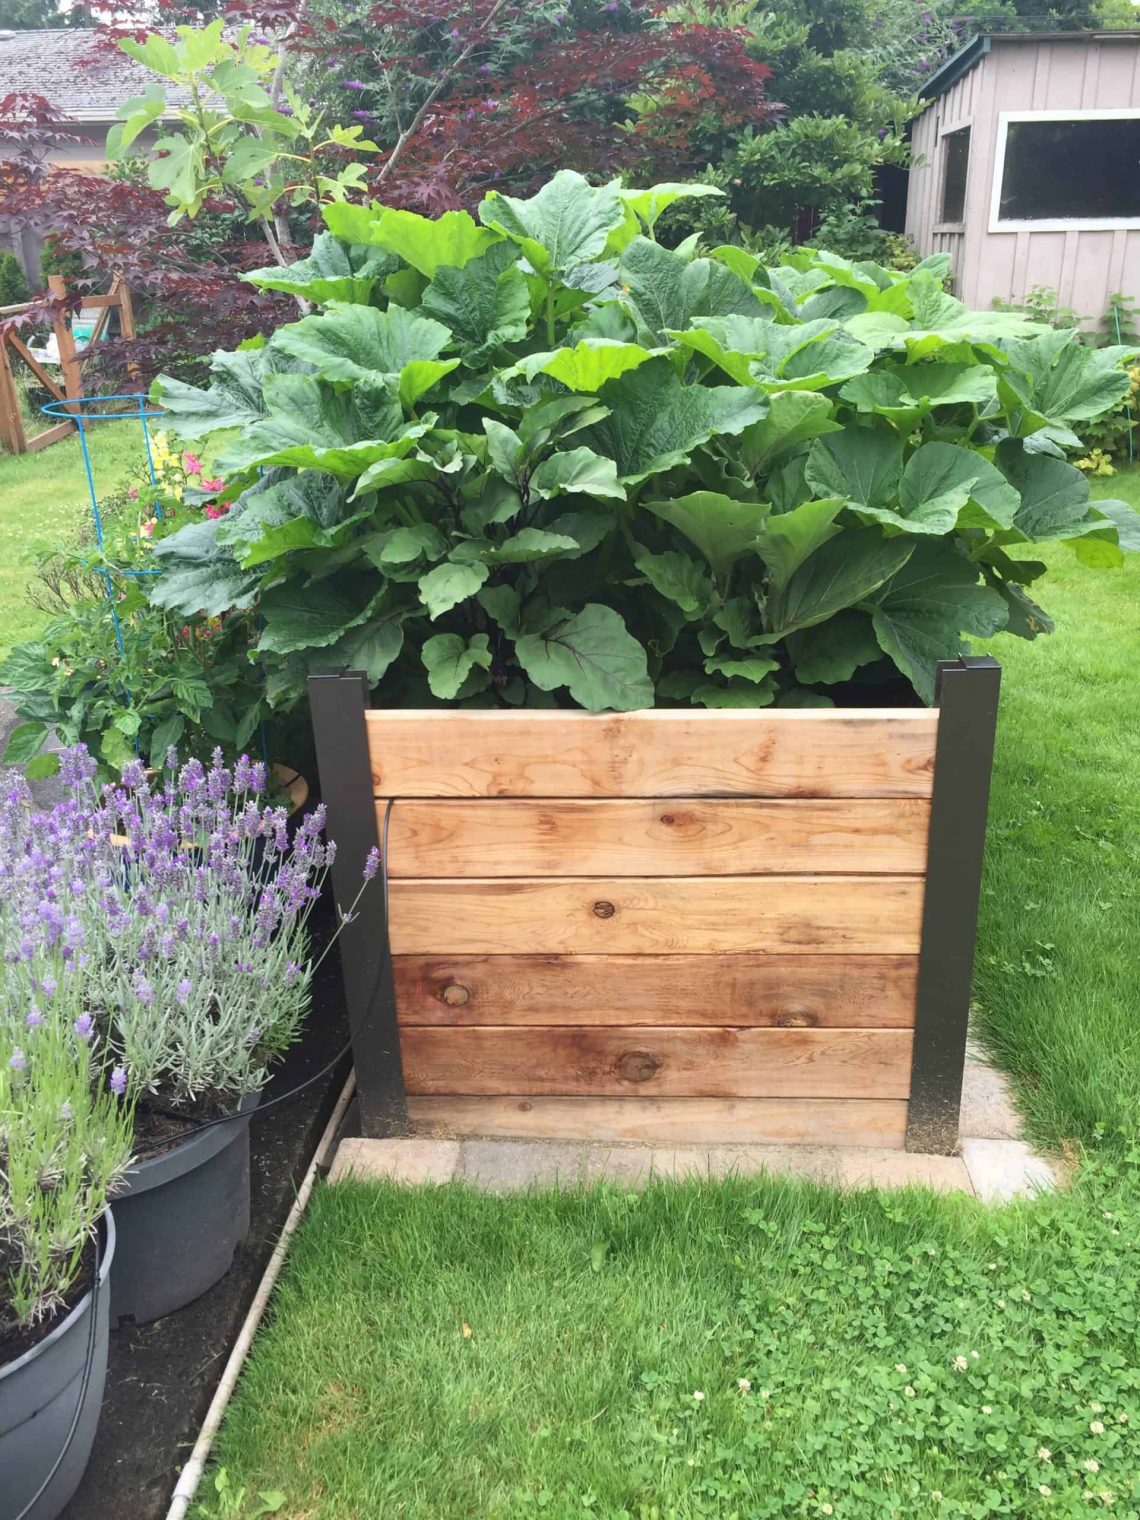
I’m not going to lie. Building this bed was a bit harder than the other beds. It was important to us to have this bed look neat and tidy and a little more finished than the garden beds. Since we have a view of this one from the kitchen window we didn’t want it to look messy or thrown together. We purchased steel raised bed corners from Gardner’s Supply and cedar boards from a local lumber yard. The cedar will last longer than my other beds that are made of Douglas Fir. I opted to spend a little money on this bed but I think it turned out beautifully and well worth the cost.
Here are the 5 steps we took to convert lawn to food growing space.
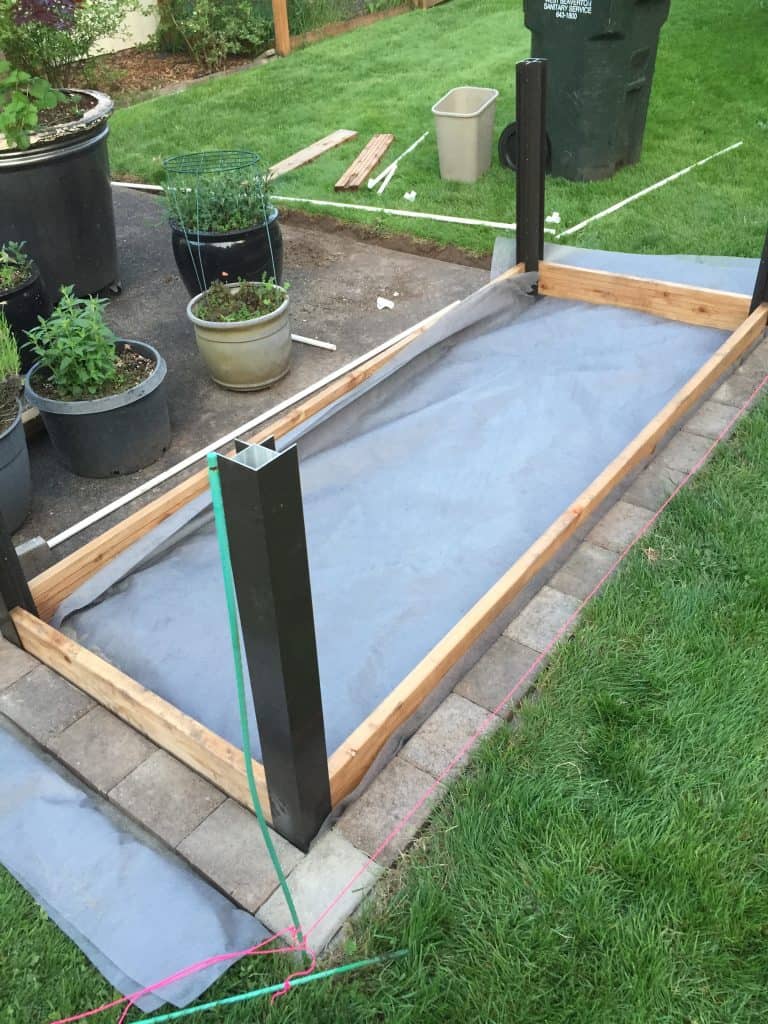
Step 1
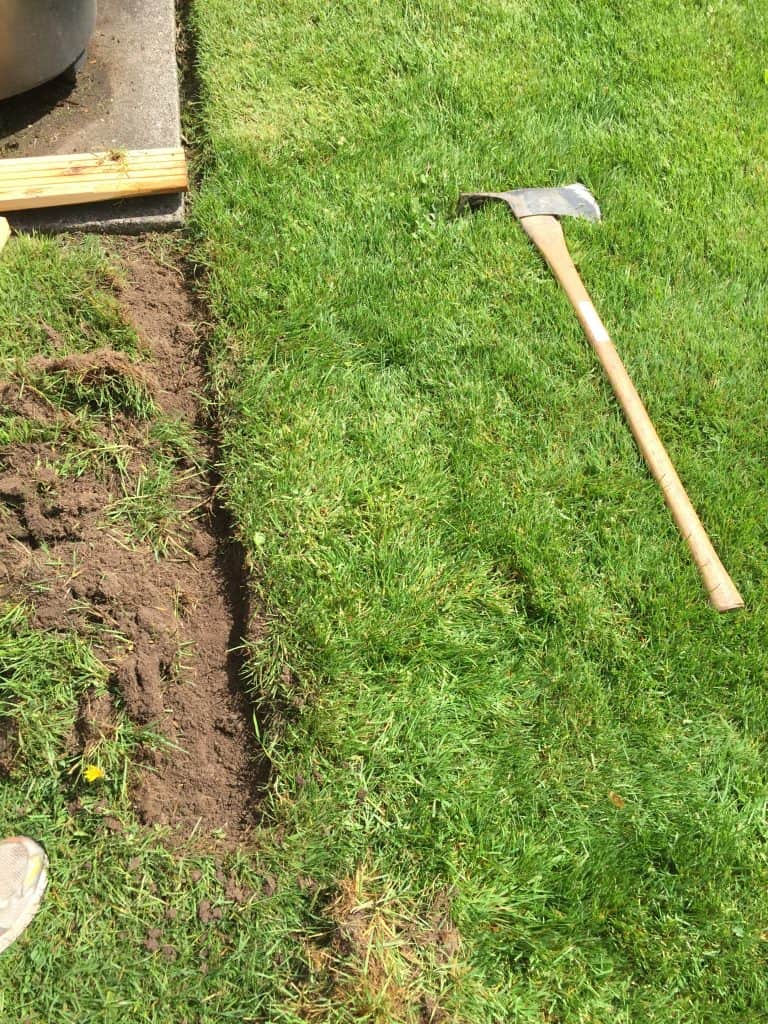
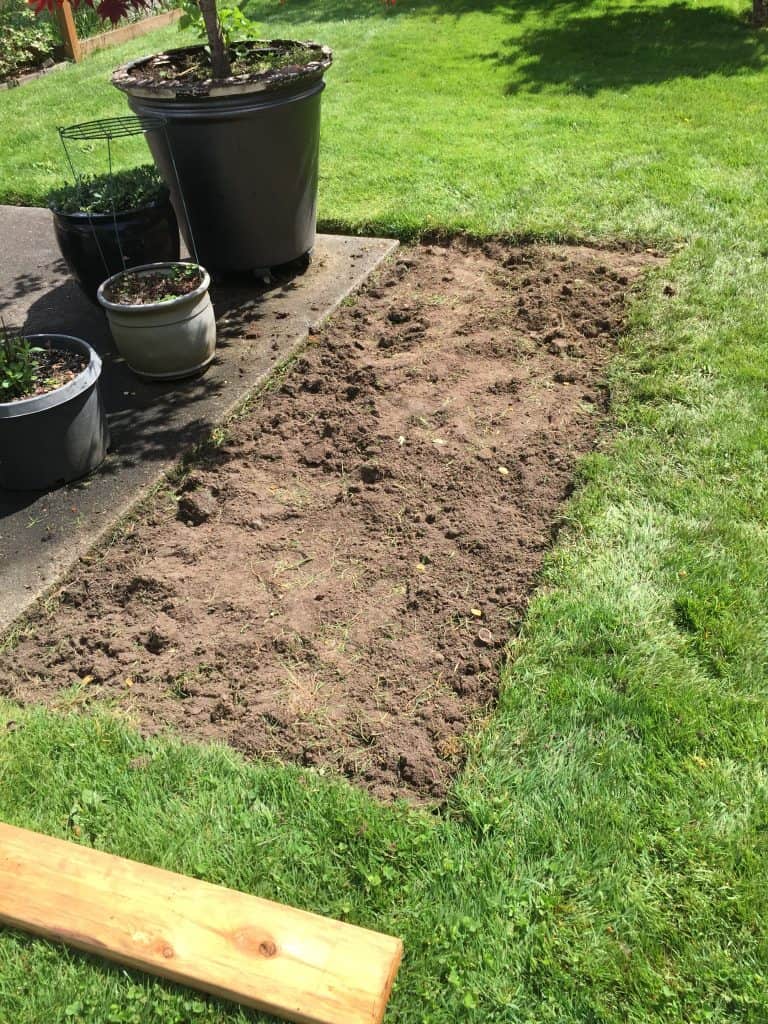
Remove the sod
This step offers a great workout! First I measured out the size of the bed which would be 4 feet by 8 feet. I needed the sod to be removed from an area a bit bigger than that because I decided to install pavers around the base of it to make it look trimmed out. I removed the sod instead of covering it with cardboard to kill it and then build on top because I wanted the bed and pavers to sit level with the patio. I also wanted a little water well at the edge of the patio for drainage.
Step 2
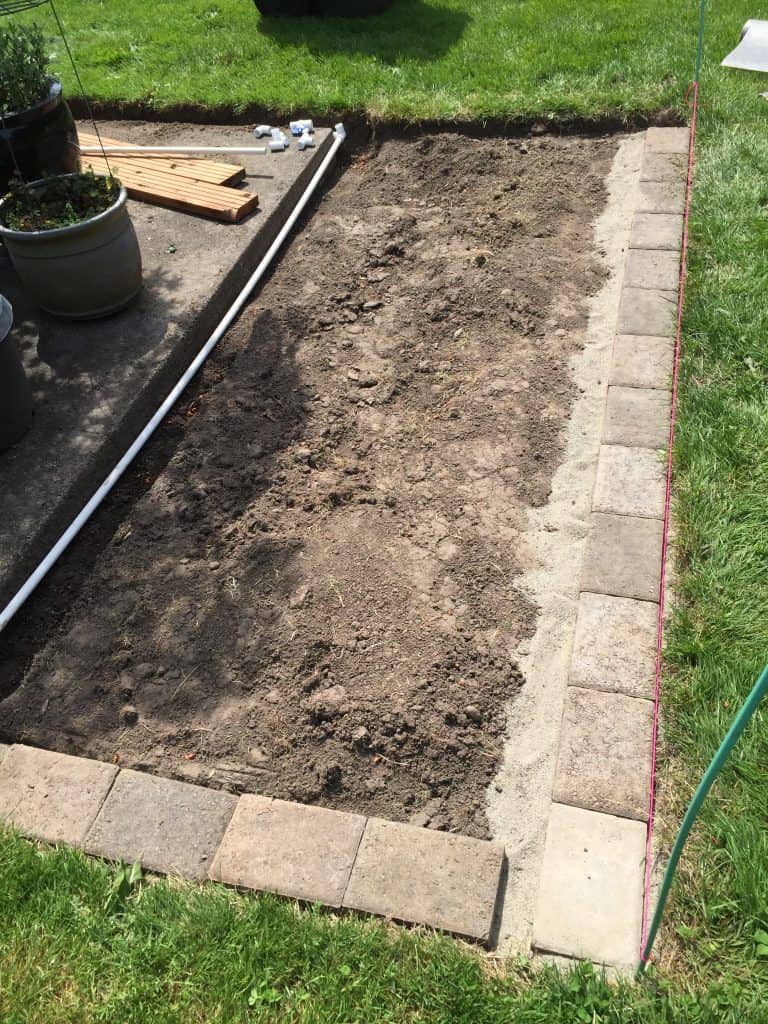
Lay the pavers and weed barrier
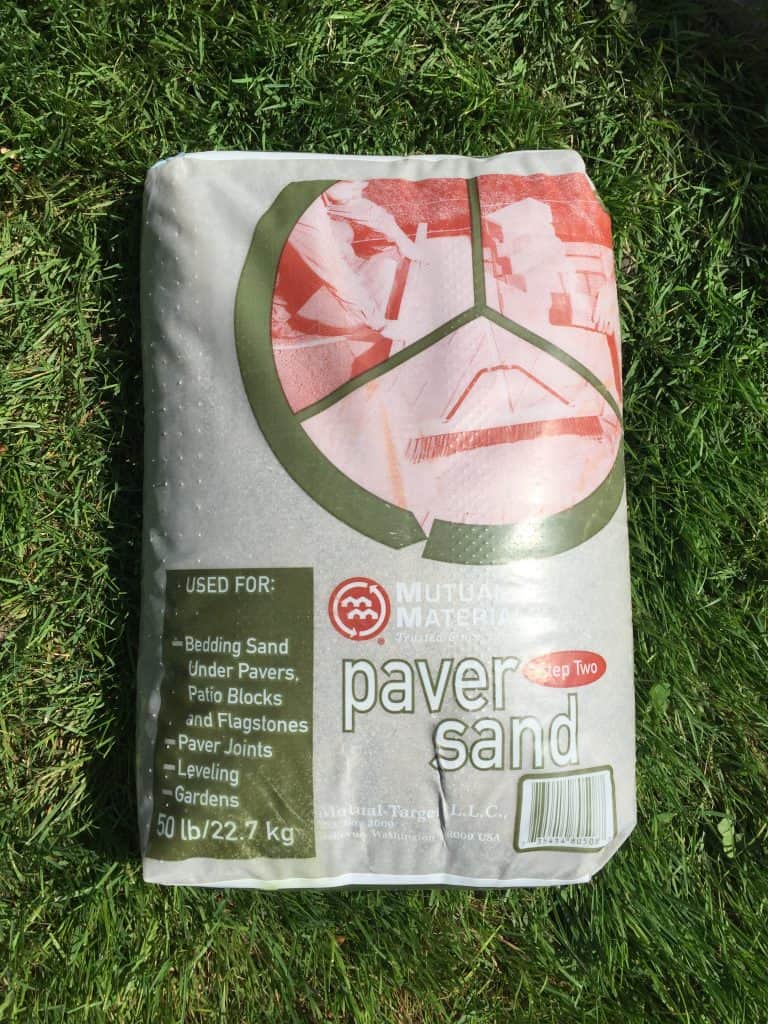
This step offers a great workout for the mind! I used string to create straight lines and 90 degree corners so I could lay the pavers nice and straight. It was a little tricky to get the pavers lined up perfectly. I first worked to get the line straight by “dry fitting” them. Once I had figured out how many pavers it would take to go the whole length, turn the corner and terminate at the patio, then I laid them in sand. It took a few trial runs to get it right and I still forgot to lay the weed barrier underneath the long edge first. Oops! I did lay it on the bottom and sides of the bed though. This will prevent weeds from growing up from the ground below but also prevent the soil in the bed from washing out when I water or it rains.

Step 3
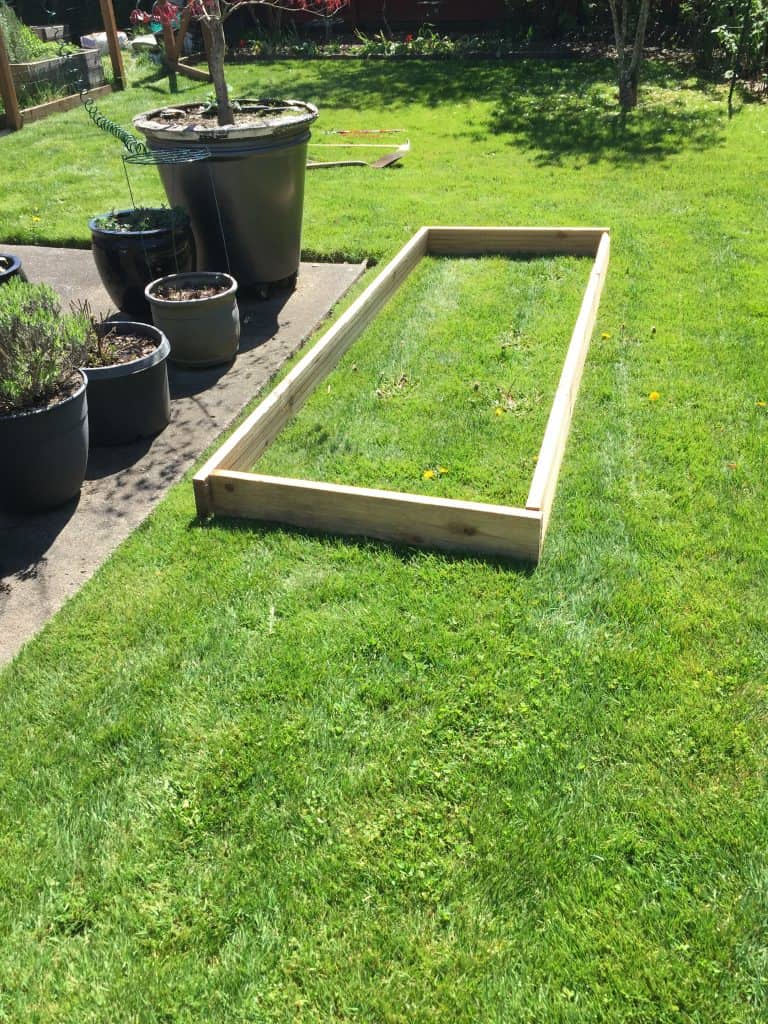
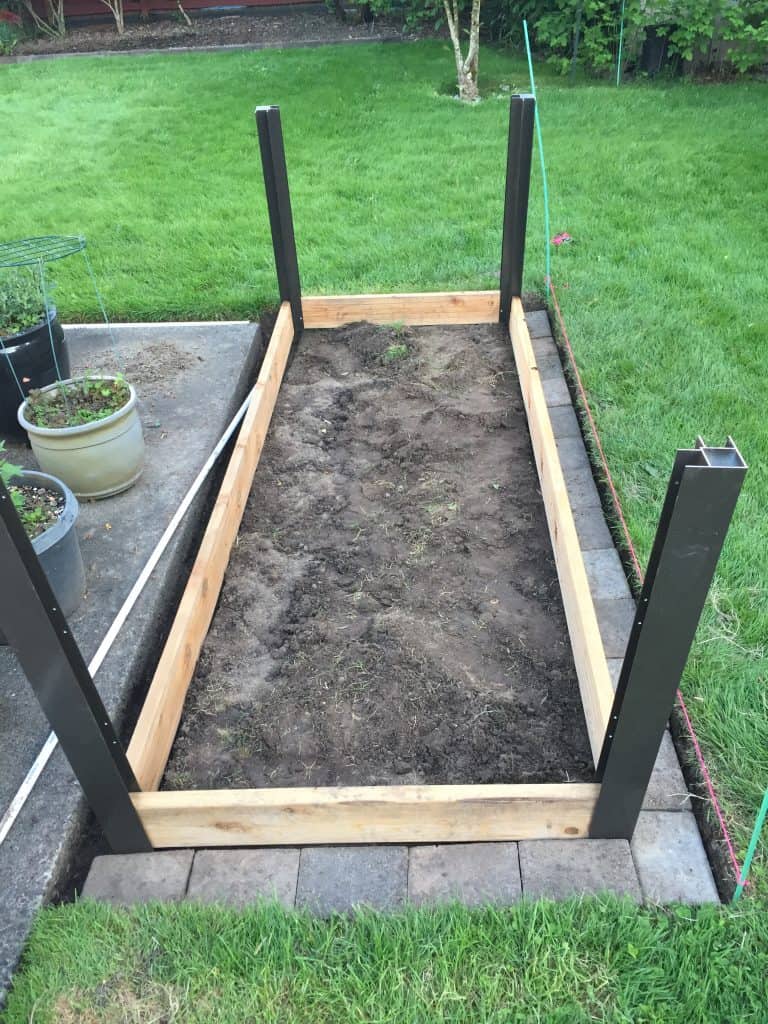
Build the bed
We bought these wonderful raised bed corner pieces from Gardener’s Supply. They make a beautiful bed and also make it easy to fit the boards together giving the bed a nice finished look. I installed the first row of boards and screwed them into place. Unfortunately, I failed to make sure this first row was level. I was so excited about stacking the boards into these cool corner pieces that I just didn’t think to check that they were level. I did make sure the corners were plumb since I was working with corners but the boards are slanted. Doesn’t seem like it would be a big deal but by the time I stacked six boards high, it’s very noticeable to me. Hopefully, I’m the only one!
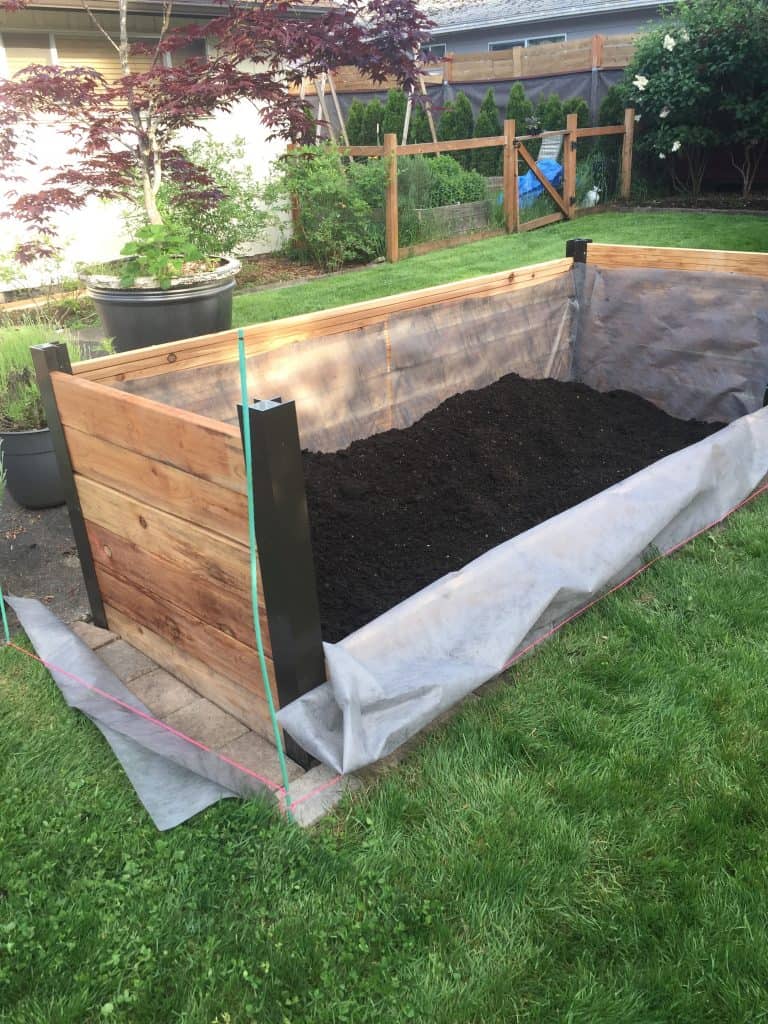
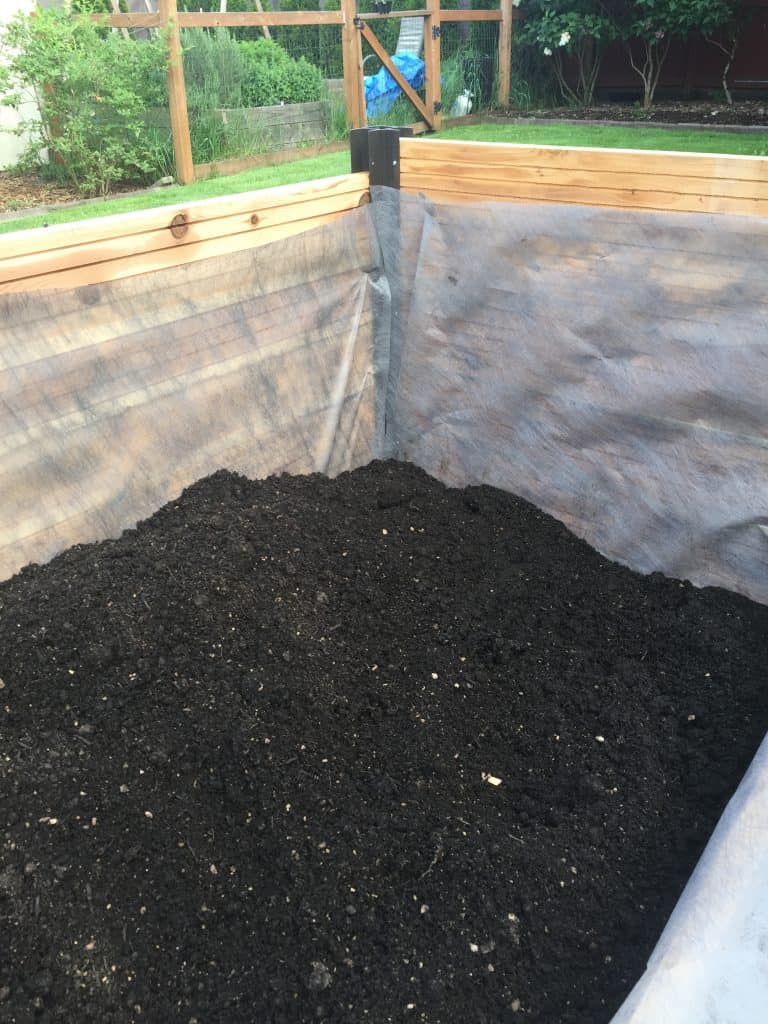
Step 4
Fill with soil
This bed takes a LOT of soil! The bed is 4’ x 8’ x 3’ tall. That’s a lot of volumes! 96 cubic feet to be exact. We ordered 5 yards of soil since this would take about 4 yards we’d have another yard to use to freshen the other beds. The other thing I love about these raised bed corners is that they allowed me to build up the bed one side at a time so I could more easily load the soil into the bed. I lost count of how many wheelbarrows it took to haul the soil from the driveway to the bed in the backyard but it was a LOT.
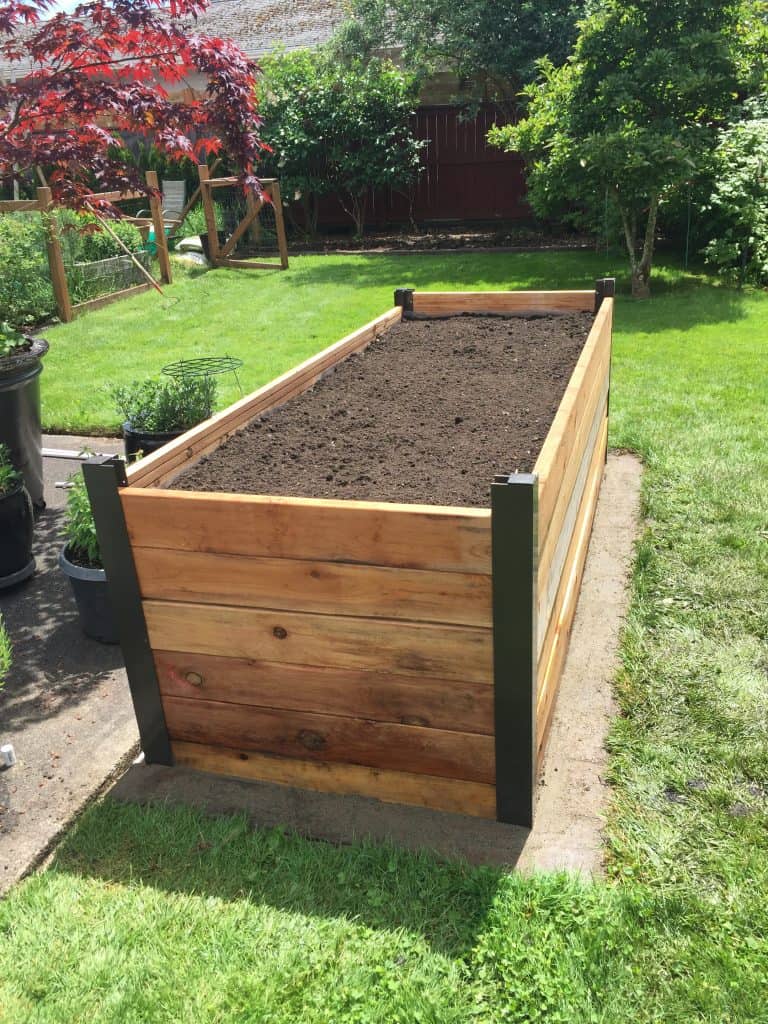
Step 5
Plant!
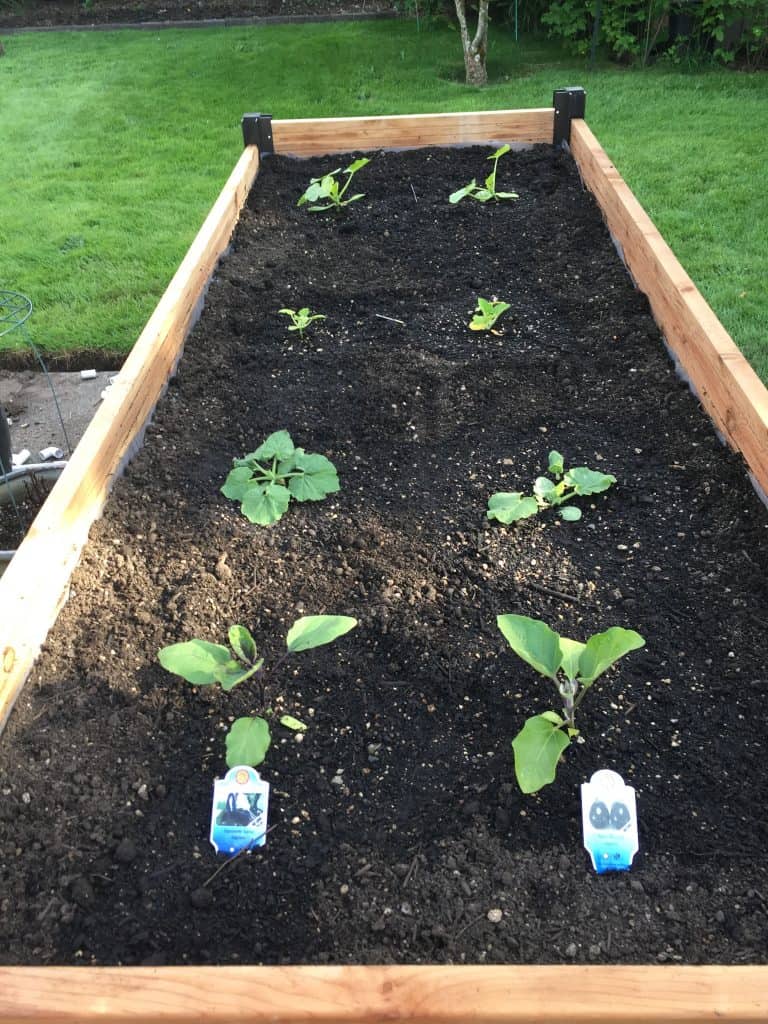
Finally, the bed is done! It looks beautiful in the yard and will provide convenient planting space close to the house. The lucky plants that get to go in here this year are squash and eggplants. I was originally going to do tomatoes but then realized, the bed is already three feet tall and if I plant tomatoes three feet up I will need a boom truck to reach them at harvest time. So I opted for something lower to the ground and easier to reach.
So that concludes my post on building our newest raised bed to convert lawn to food growing space.
We still have quite a bit of lawn and we love this bed so much we already have plans to build another on the other side of the patio next year. That will frame out the far corner of the patio which will create a cozy seating area next to our edible patio garden.
I’d love to answer any questions you might have about using these raised bed corners or how to build a raised bed. Feel free to drop me a line in the comments below!
Thinking of adding raised beds to your garden? Check out my other post!
If you’d like to see how I built the other raised beds in the main garden, check out these posts here.