5th Raised Bed in the Veggie Garden
5th Raised Bed in the Veggie Garden
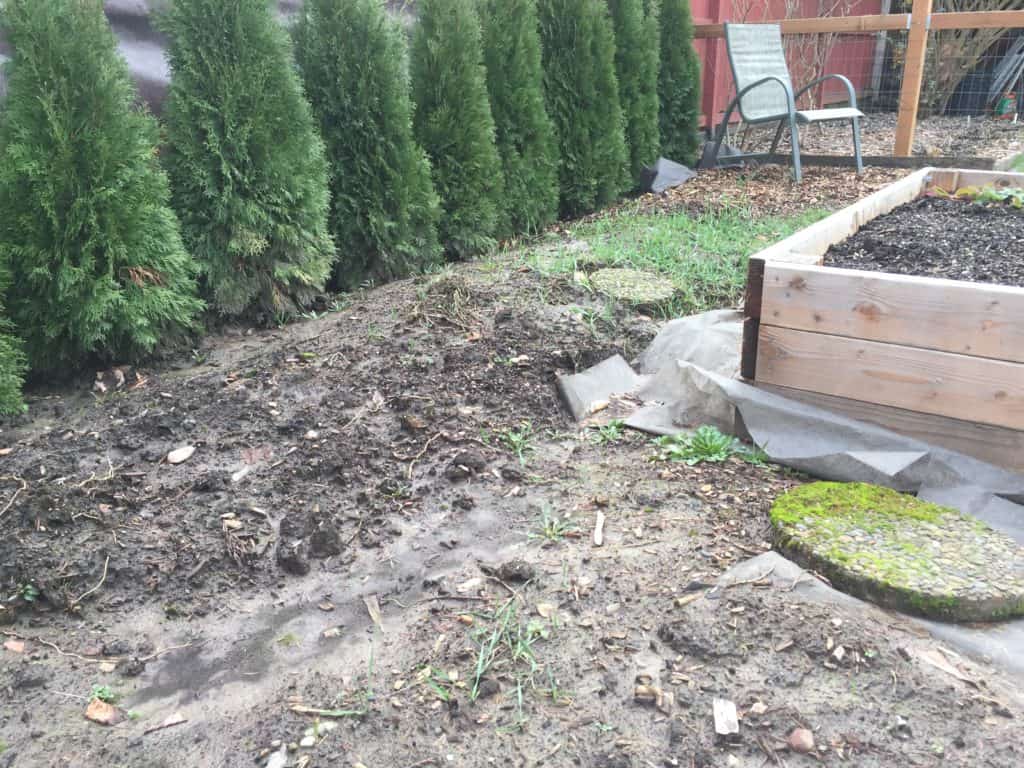
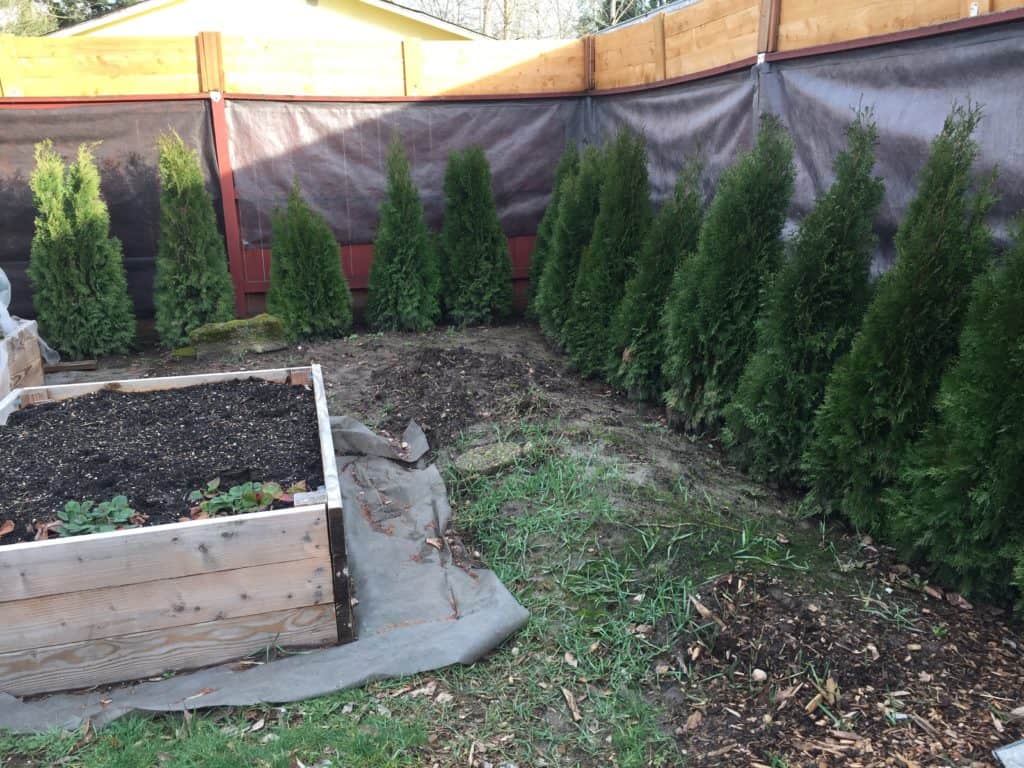
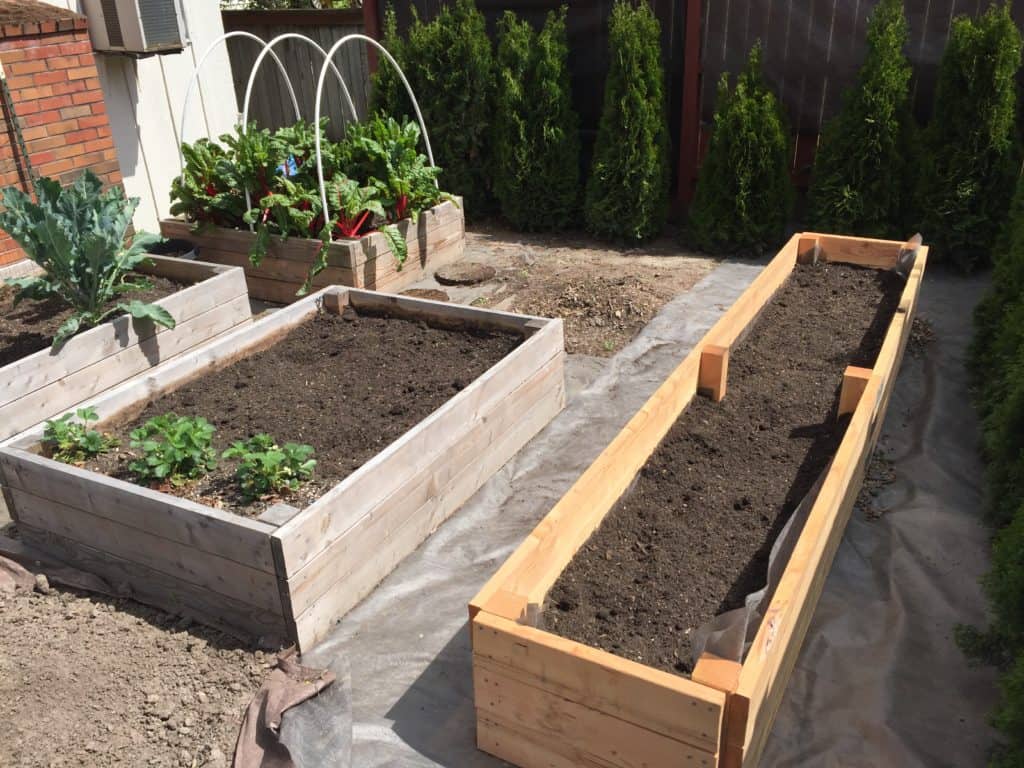
My vegetable garden design is getting close to being complete! This year I built my fifth (and probably last) raised bed. I leveled the mound soils before starting work. It was raining from time to time. That is why the clay was heavy and slippery. I scrapped the soil level and tossed the excess into a pile at the end of the garden. It was a muddy mess and I certainly got an upper body workout from shoveling so much wet soil!
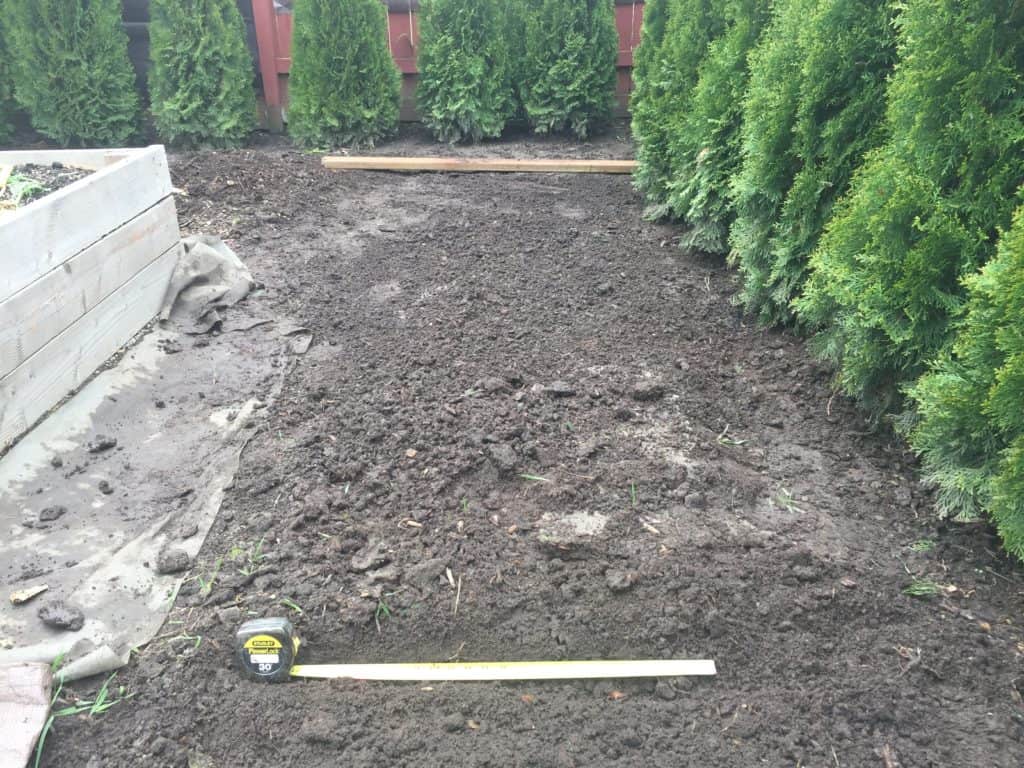
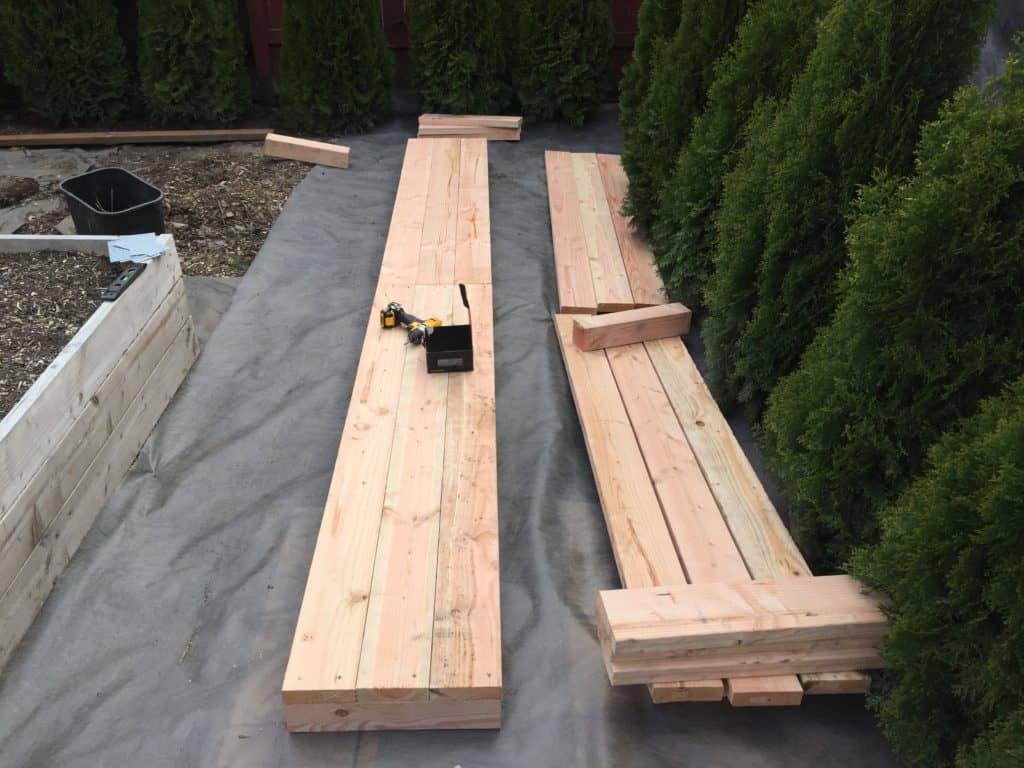
Next, I measured the length and width of the bed. I wanted to be sure I could get the wheelbarrow between the beds. So I needed to leave two feet of space between them. My original design showed three beds in this space that were each 3′ x 6′ but I decided that would feel too crowded. I decided on a narrow bed that would be 2’ x 12’. Those measurements also allowed me to purchase 6’ sections of lumber. I cut two of them into three 2’ sections for the ends and connected six of them in the center to make 12’ lengths. I thought about purchasing 12’ boards but decided to loading six of those in my vehicle would be too much to handle.
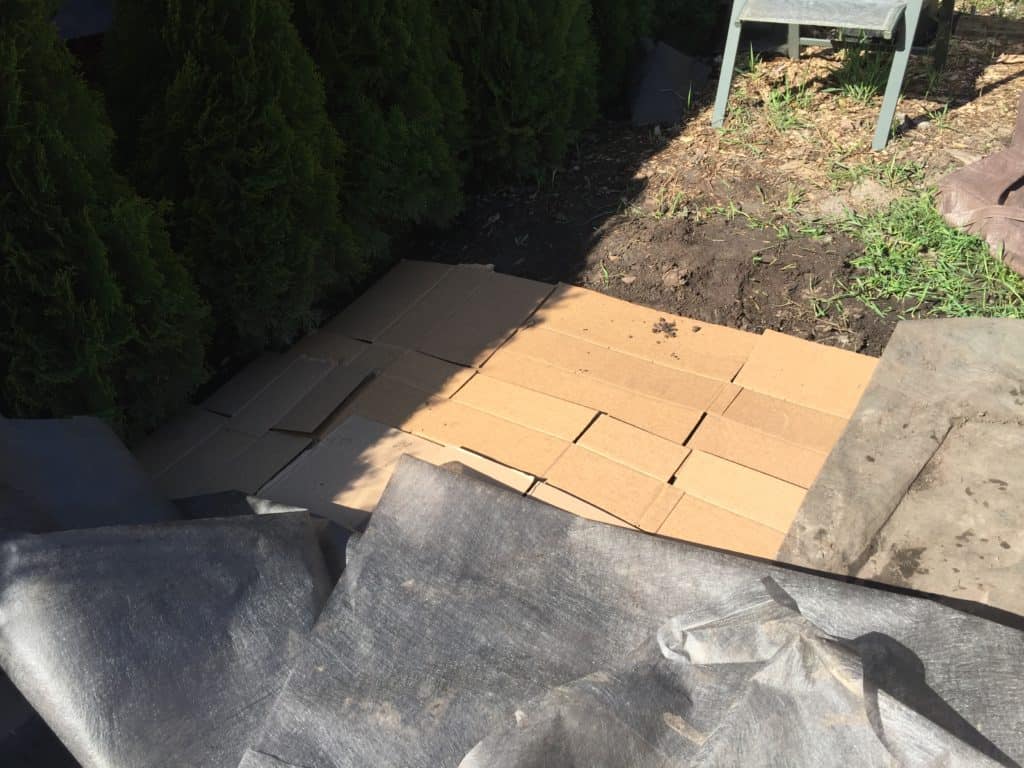
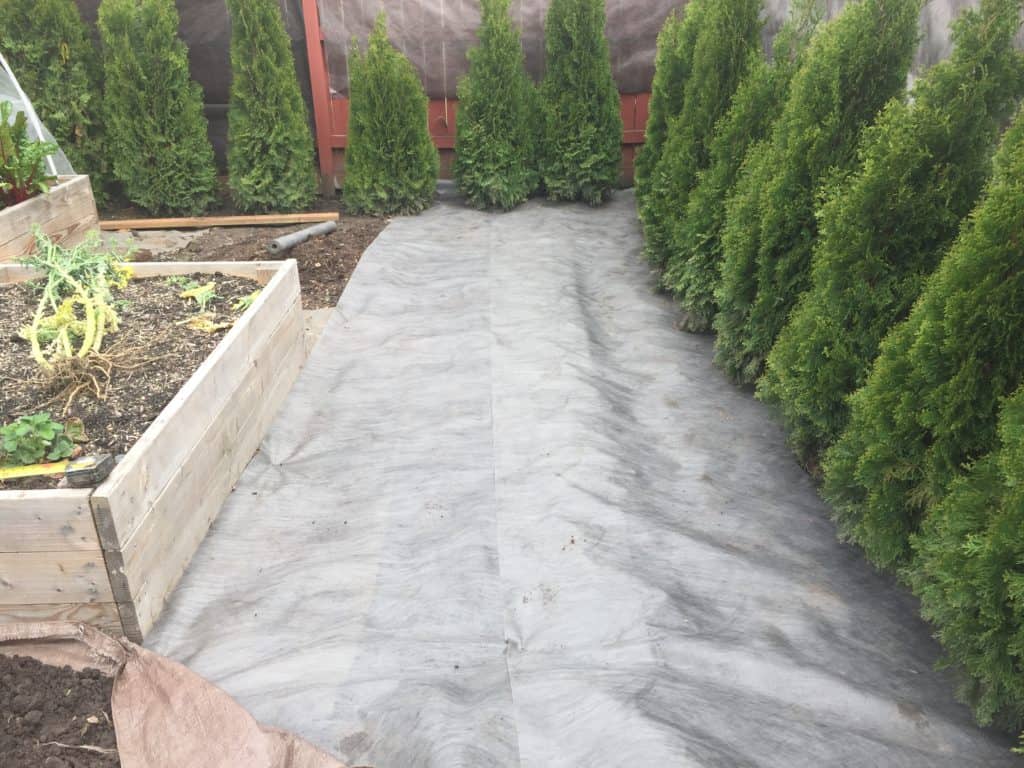
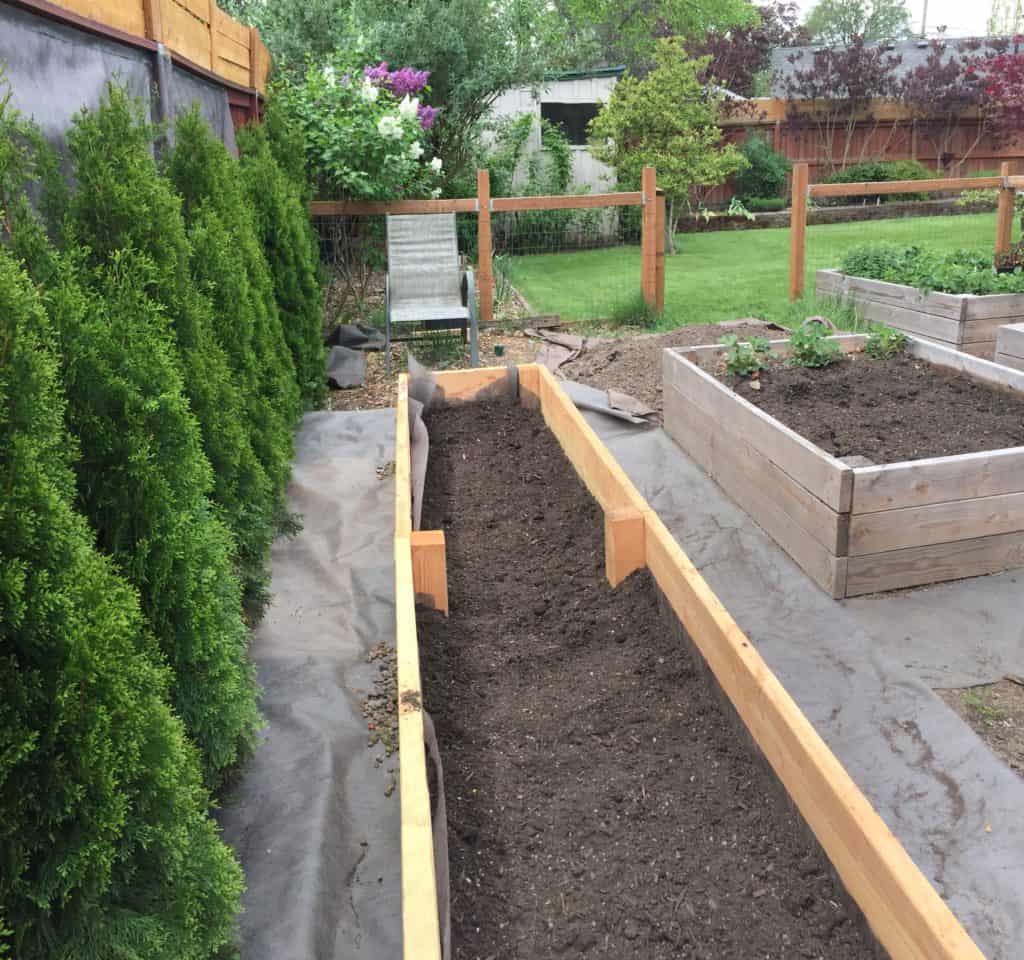
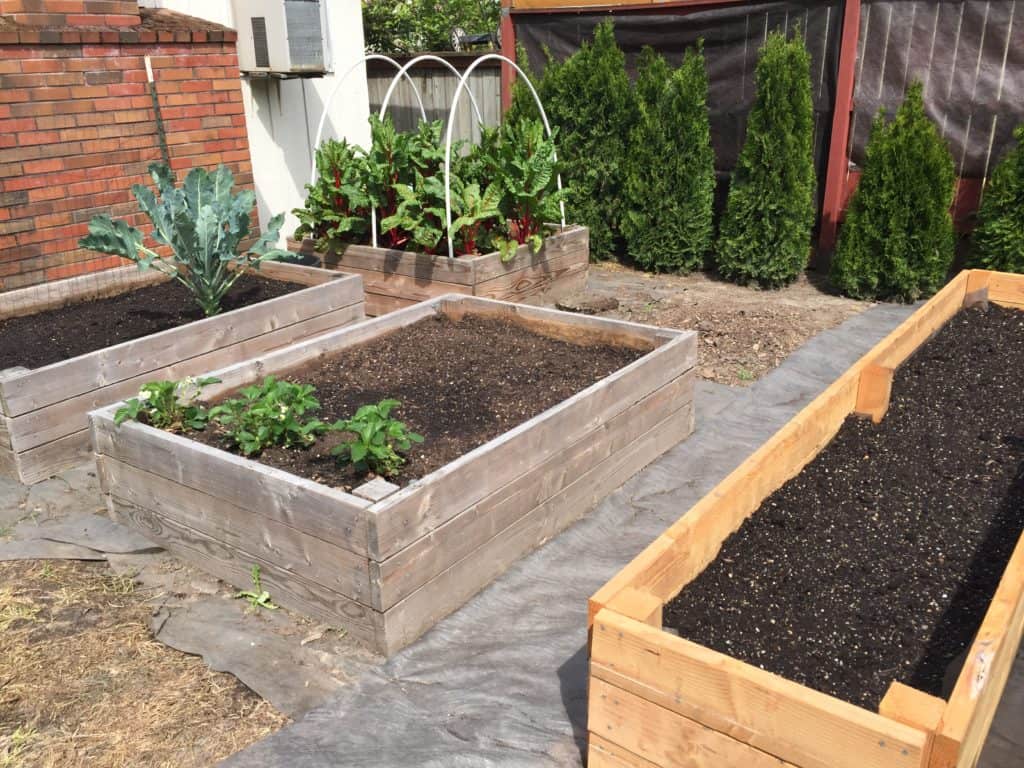
This section of the garden is plagued with invasive Bermuda grass so I laid down a layer of cardboard and a layer of landscape fabric so the bed would be protected from weed invasion. I plan to install crushed rock throughout the garden as a mulch in a few years so I made sure to take the landscape fabric all the way under the arborvitae. It’s looking better already!
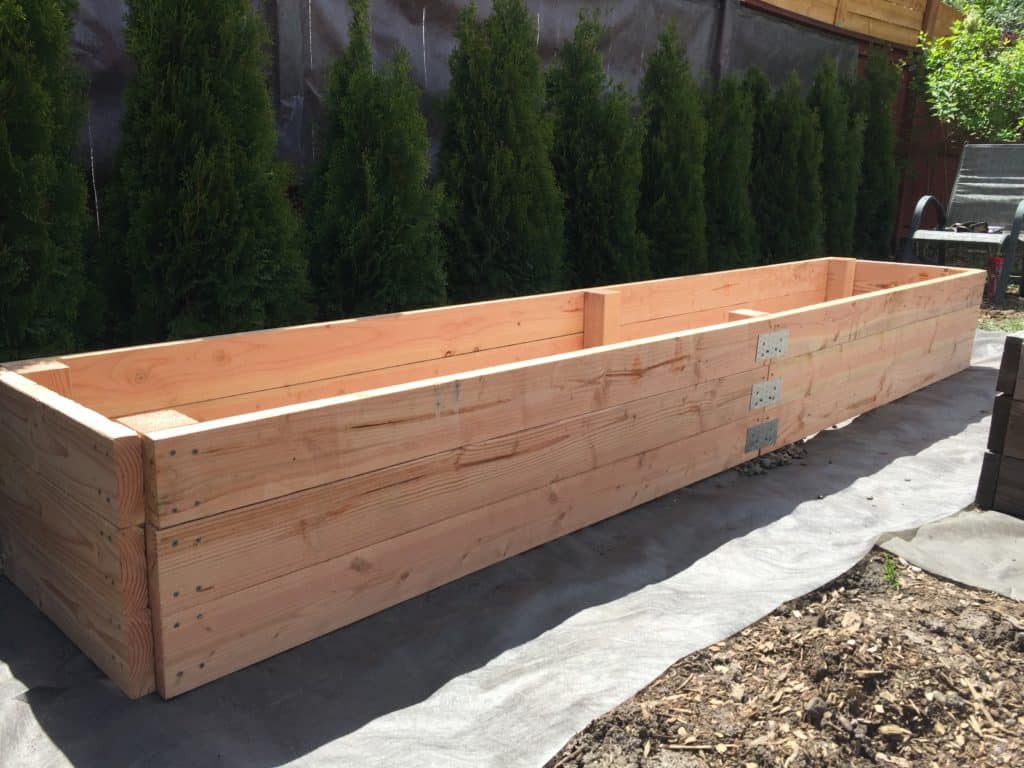
When I built the previous beds I did it on the patio and then hauled them into the garden. It was extremely difficult to do it that way because they are HEAVY when all put together. This year I got smart and assembled the bed in position.
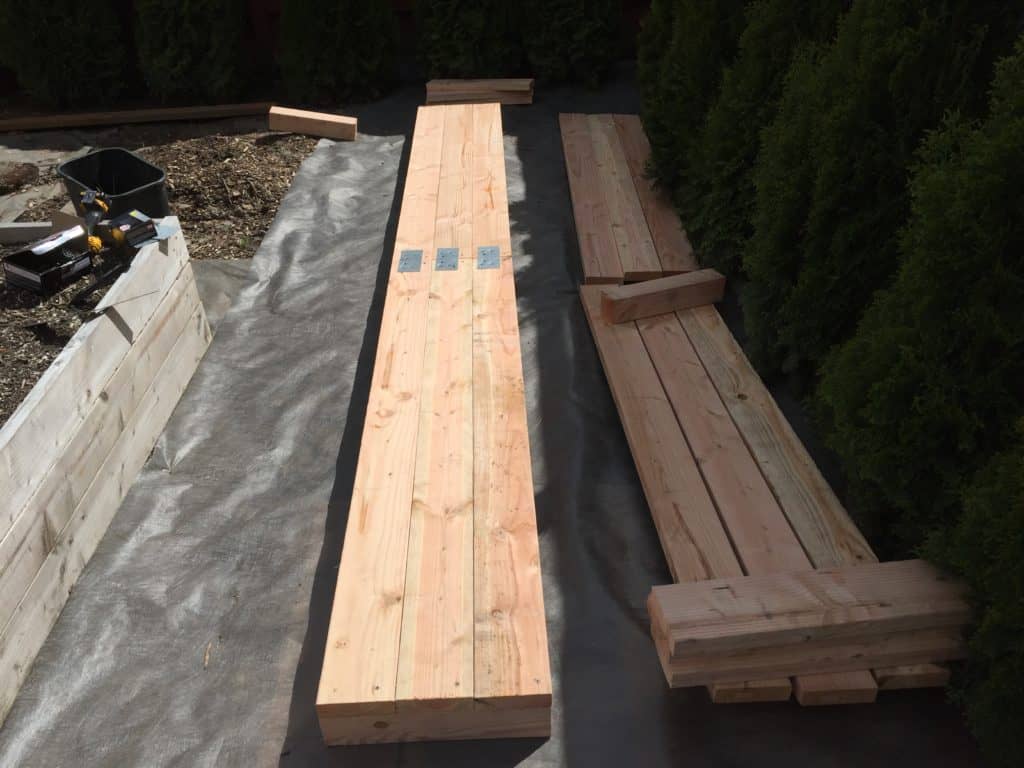
Since I had to connect 6’ sections, I used galvanized wood ties to provide extra tensile strength. Once the bed is filled with wet soil and growing plant roots, I need to be confident it won’t pop apart. These worked great.
After assembling the sides, I lifted them up and attached one piece at each end so it would be somewhat stable. Once that was done, I used gravel under each post to lift and set it into position, making sure it was level at each end and in each direction. That took some time since the structure was quite heavy by this point and the ground was still pretty sloped, even though I thought I had leveled it out.

Once it was level and stable I put another layer of landscape fabric inside the bed and wrapped it up the edges. Then I dug about 50% of the soil out of each of the other beds and tossed it into the new bed. I want to ensure that all five beds have a similar soil mixture to start with this year so I can amend and adjust from the same starting point going forward.
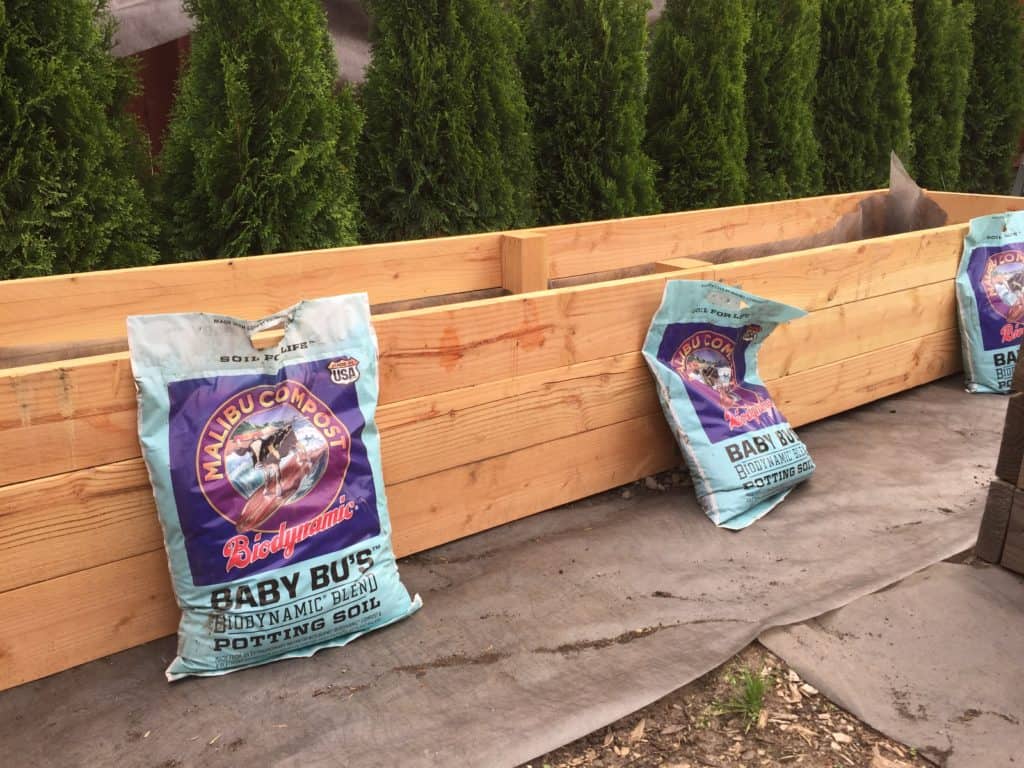
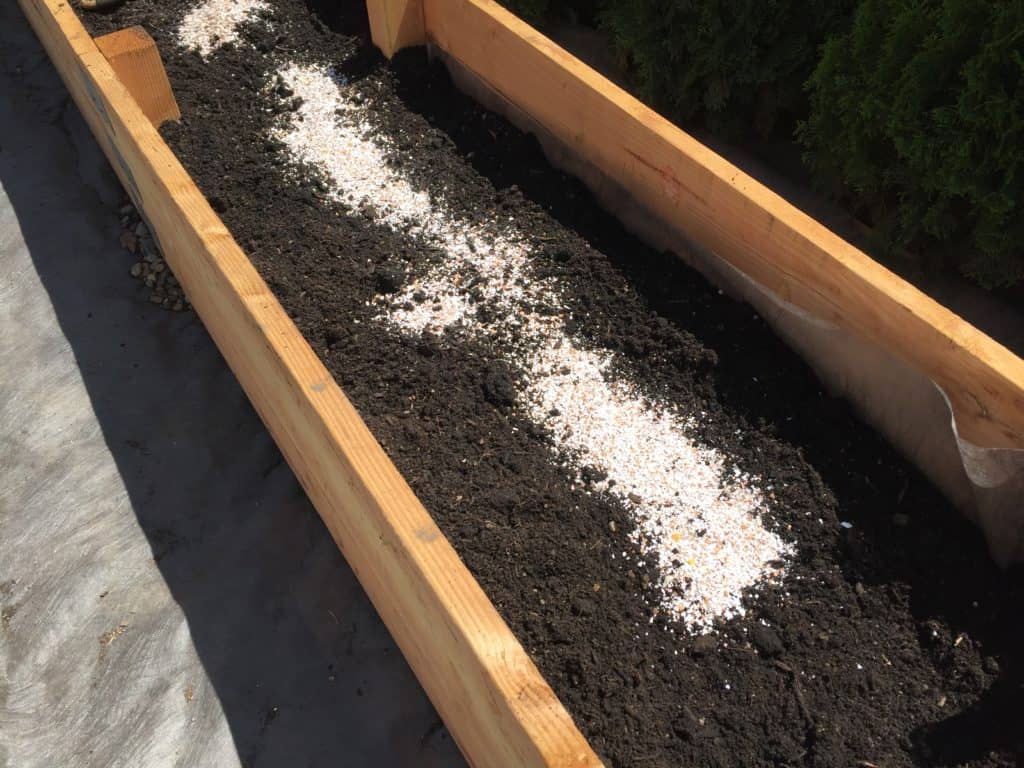
Each of the beds also received one bag of Malibu Compost potting soil (the new bed received three bags) plus two bags of Cedar Grove compost. The new bed also received crushed eggshells for calcium. I turned all of this deliciousness together and raked each bed smooth. Then I watered it down to let it all rest before planting.
My overall garden design includes a drip irrigation system, crushed rock mulch, and a shaded seating area. I’m getting closer to my vision every year which is exciting. Because constructing the space is a lot more work than maintaining it. The next step this year will be planting! Happy Spring!


You May Also Like

Lentil Stew with Radish Greens

Summer Solstice 2019